
Start by finding when the marks appear. Check representative parts before finishing, after the finishing step, and after separation and handling. If parts are striking one another during processing, the question is whether they can run loose together at all—not simply which abrasive cuts faster.
For surfaces that cannot tolerate part-to-part contact, a process that keeps pieces apart may be necessary. Do not assume that adding media or shortening the cycle will make every delicate part suitable for a loose batch.
First, identify the surface you need to protect
A part can be burr-free and still be unacceptable. Before changing the process, mark the face, edge, or feature where a ding matters. State what passes inspection: an approved visual reference, a drawing requirement, or another agreed acceptance check.
Keep the incoming condition with that reference. A photo of the finished batch alone cannot establish where a mark started. Use consistent lighting and viewing angles when documenting changes; photographs support inspection but do not replace required measurements.
Ask three practical questions:
- Were the marks present before the parts entered the machine?
- At which completed process step do new marks first appear?
- Can this part tolerate contact with another part on the surface that matters?
Locate the damage before changing the recipe
Use planned inspection points under your established operating procedure. Stop and unload equipment as directed by its manufacturer; do not reach into moving equipment to collect samples.
| First point where new marks are observed | What to investigate next |
|---|---|
| Before finishing | Incoming part condition and transfer into the finishing area. |
| After the finishing step | Whether the load and process allow damaging contact; also check media, machine condition, and handling during unloading. |
| After separation | The separation and transfer method, not just the finishing cycle. |
| After drying or packing | The handling steps and containers used after finishing. |
These checkpoints narrow the investigation. They do not prove that every scratch is a collision mark. Do not label the cause from appearance alone.
Loose-batch finishing is not the only arrangement
Manufacturer guidance makes an important distinction between processing loose parts and keeping delicate pieces separated.
Walther Trowal's trough-vibrator guidance describes individual holding devices or separate compartments for parts with delicate surfaces. Its drag-finishing description describes individually clamped parts that remain apart while moving through the media.
Those are examples of process arrangements, not a recommendation to retrofit your machine or a claim that Richwood supplies those specific systems. A holder or divider must suit the equipment and process. It is not a shop-made shortcut to assume safe or effective.
The useful buying question is: Can the required finish be produced while protecting the surfaces that must not touch another part? Establish that before comparing advertised cycle times.
Make a trial answer the contact question
Record the part material and geometry, machine model, media code and size, part count, loading method, cycle settings, and handling sequence. Keep the accepted finished reference beside the trial results.
If a process specialist recommends a change, document exactly what changed. Do not change the media, load, cycle, and separation method together and then assume you know which one helped.
Inspect for both the intended finishing result and new damage. A shorter cycle is not a successful fix if it leaves the original burr. Likewise, a smooth surface is not a passing result if a critical face has acquired unacceptable marks. Our edge-control checklist covers the separate burr, edge, and surface requirements.
For repeat work, record acceptable parts and handling effort—not just minutes in the machine. If the process requires individual protection, include the time to load, unload, and inspect that arrangement when evaluating it.
What should you send Richwood?
Send clear photos of the marked area, the point where you first observe the damage, the machine and media identification, and the surface requirement. Include an unfinished representative part and an acceptable finished reference when arranging a sample evaluation. Our sample-test preparation guide explains what information makes that discussion useful.
Talk with Richwood about the part and the finish you need. Start with the damage location and the current process so Kevin can assess the fit before recommending a machine or media change.
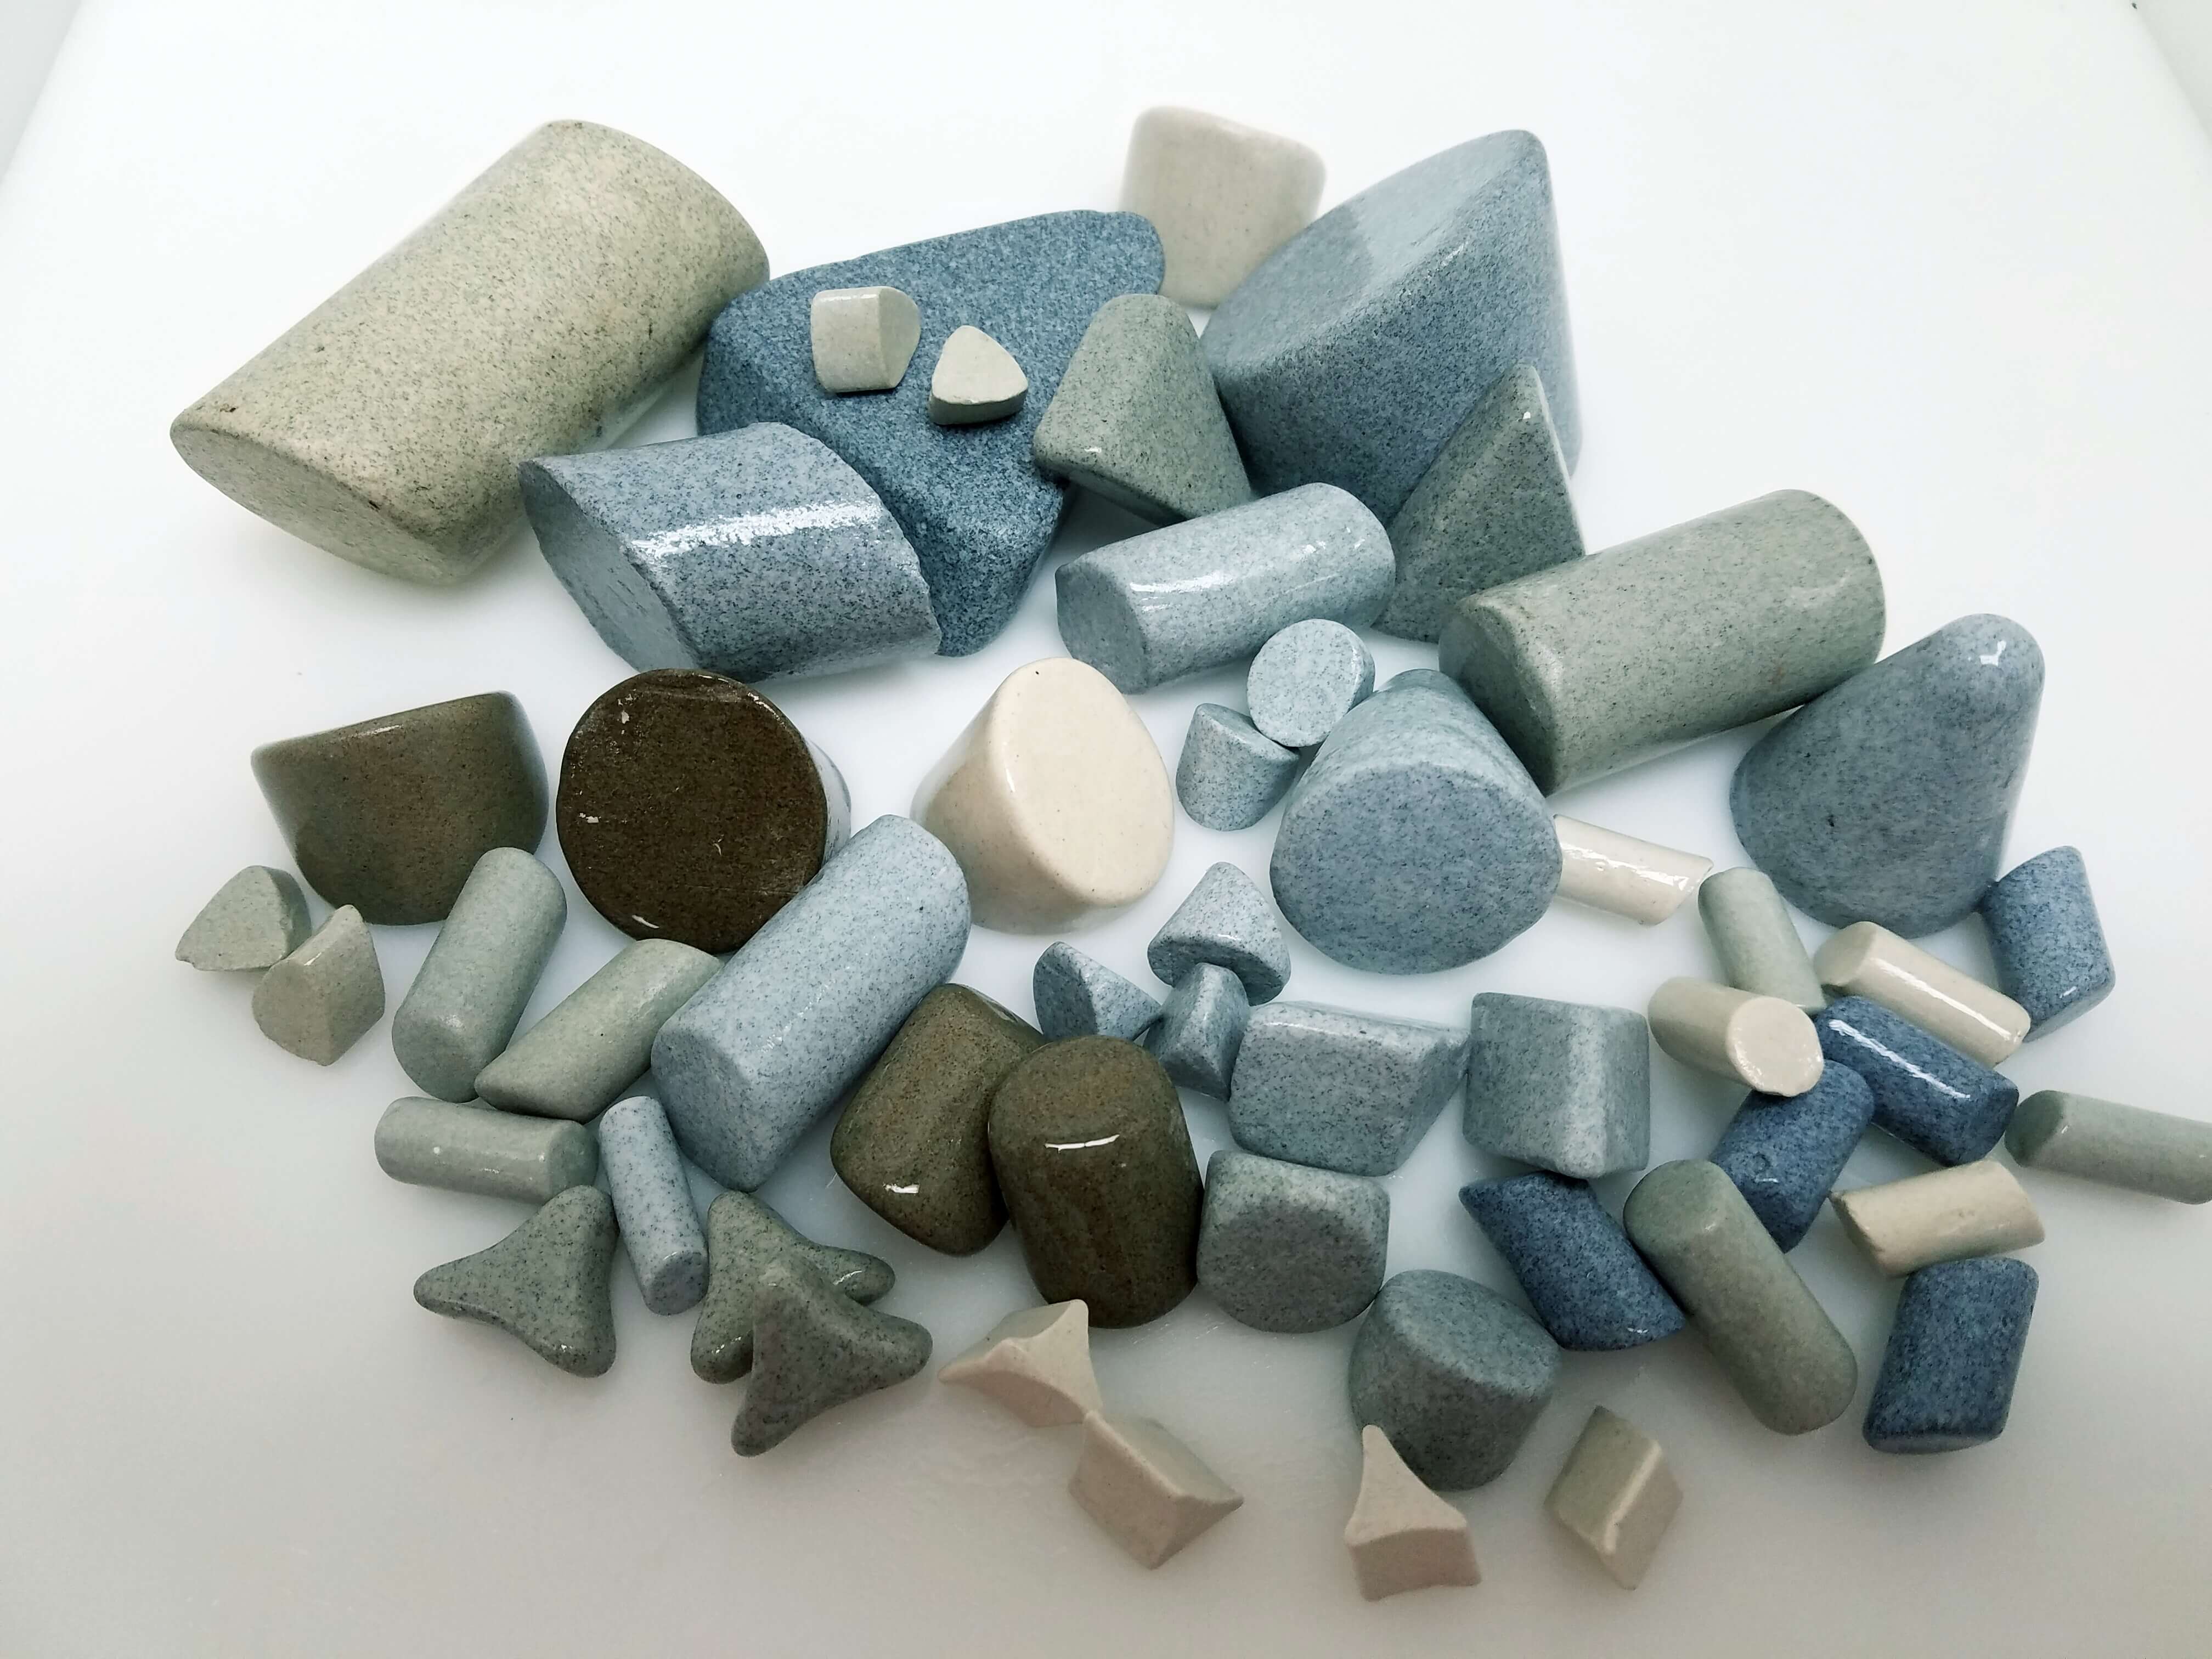
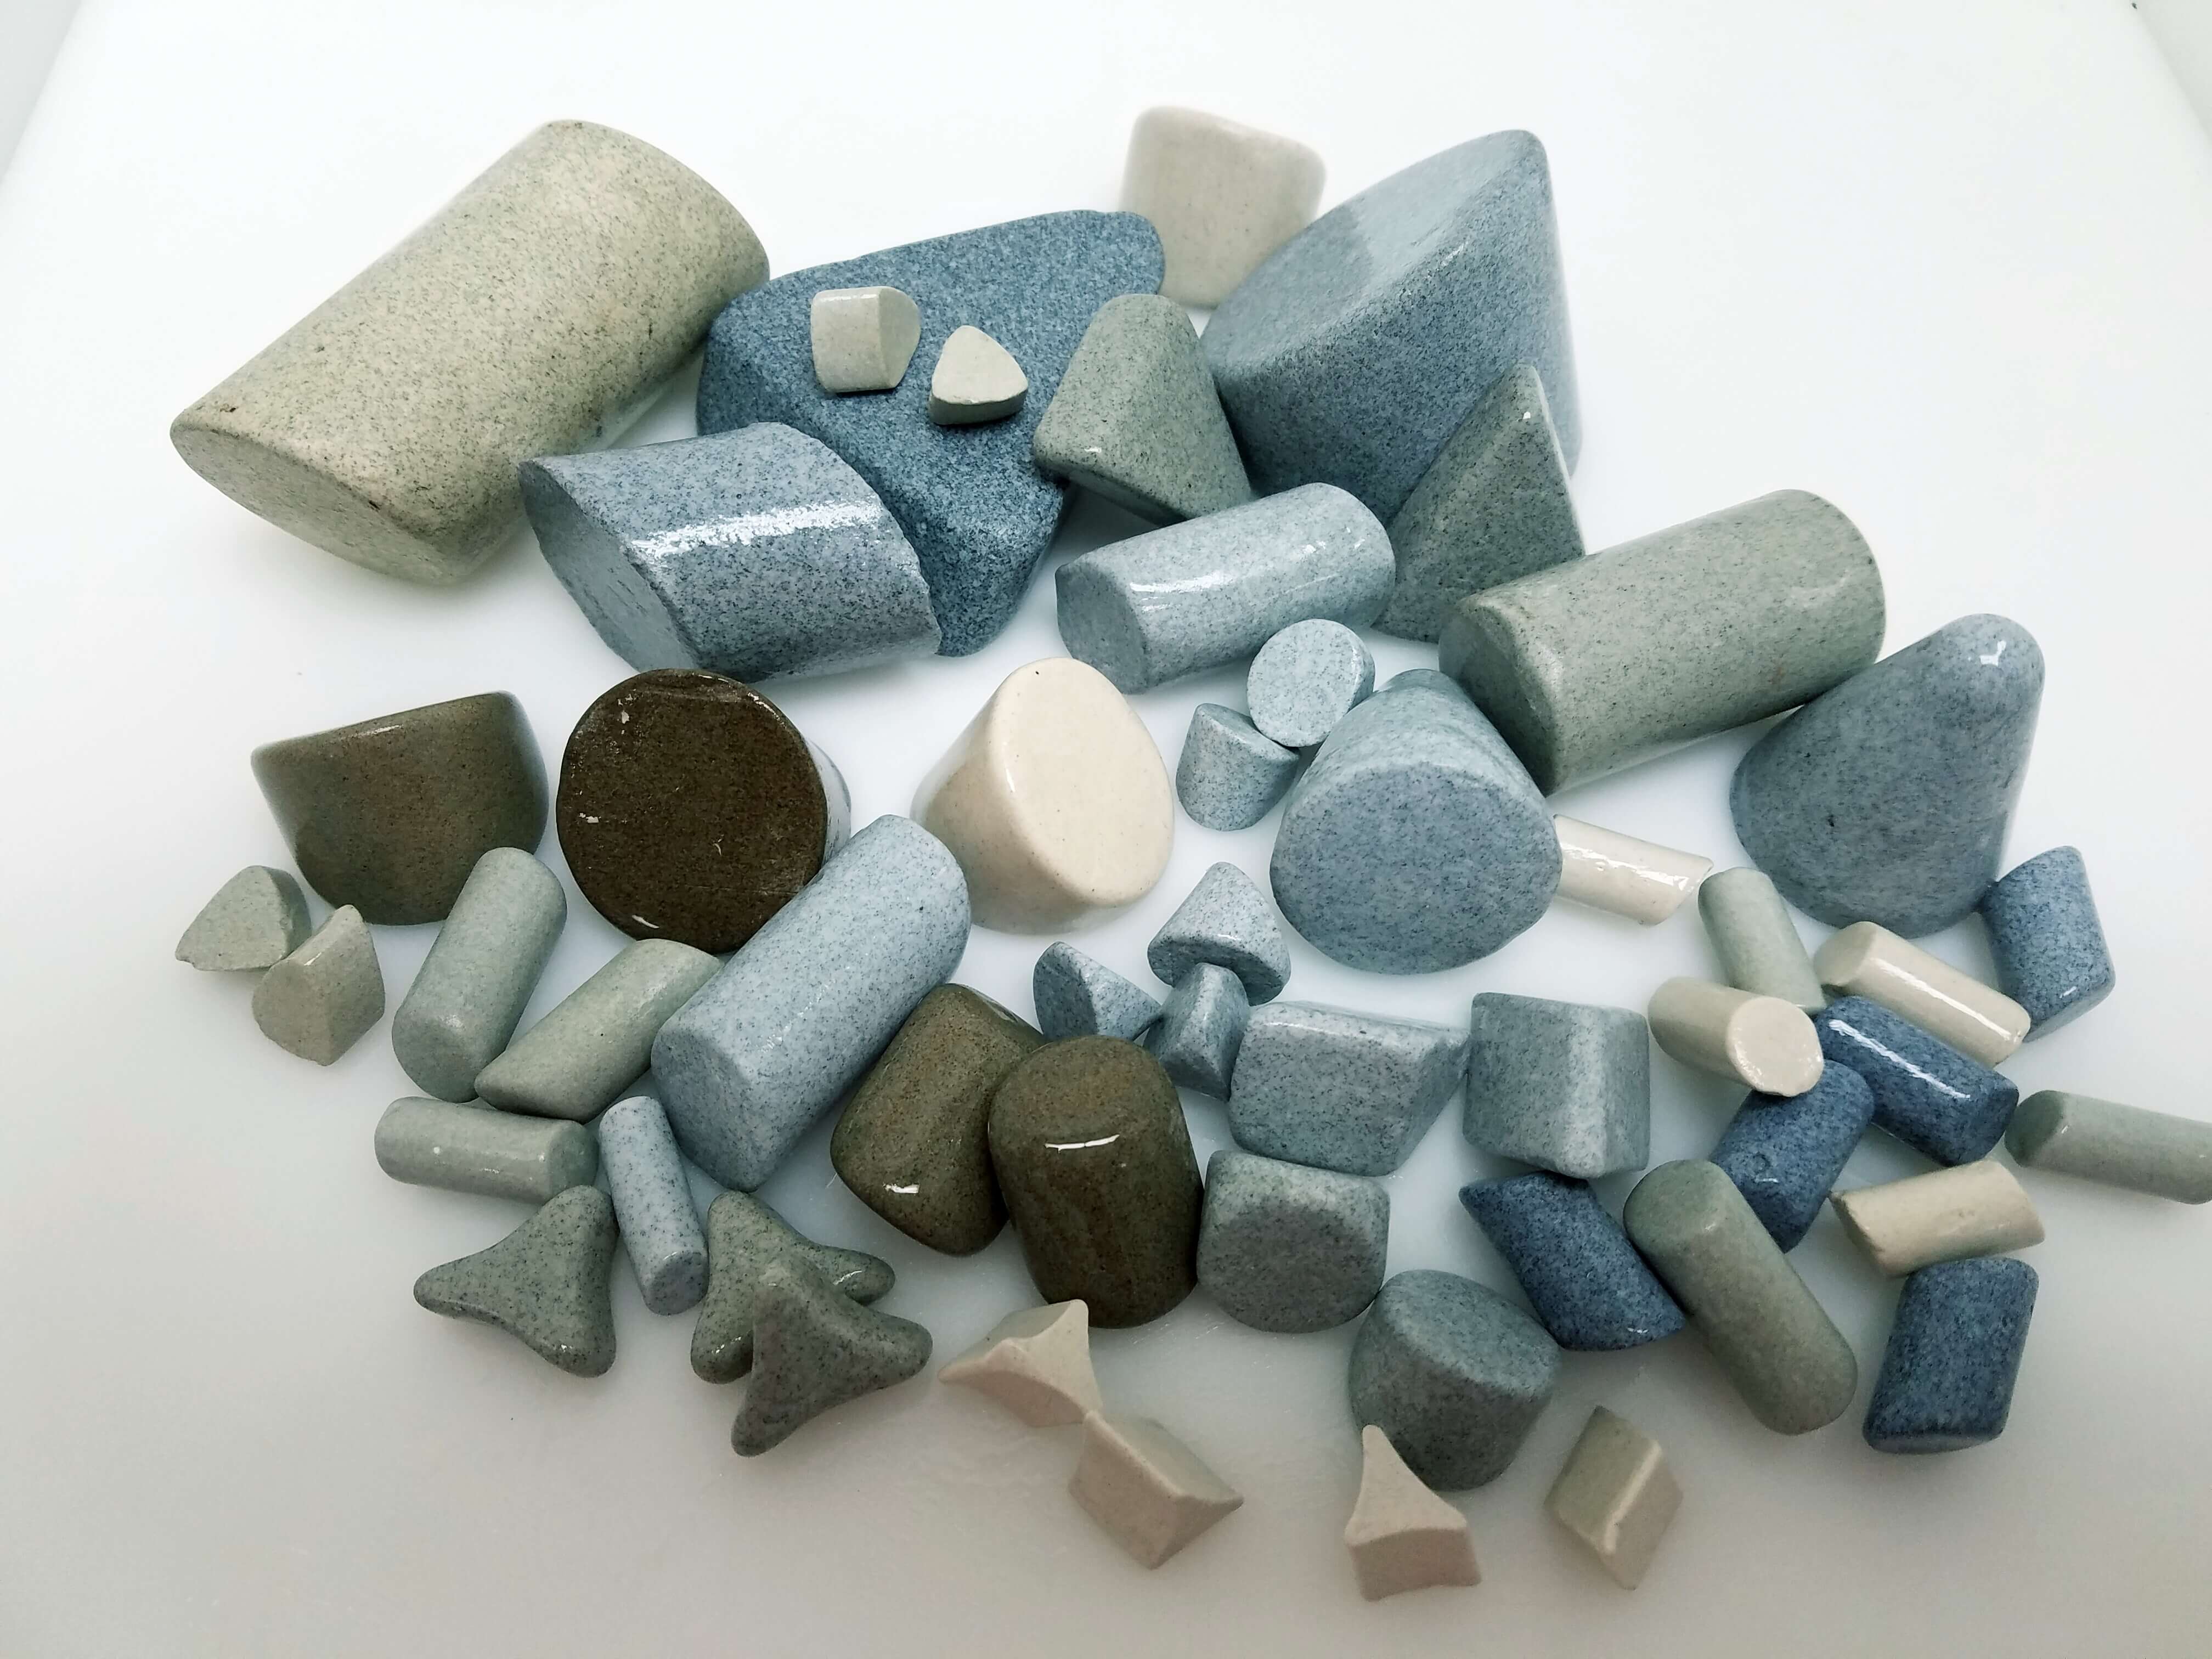
Real supplier photograph already approved for Richwood's media page. It illustrates media shape variety only—not a recommended load, a cushioning ratio, or evidence of a damage-free trial.