
Start by defining which burr must go and how much the surrounding edge is allowed to change. Then qualify the finishing process against both requirements. Mass finishing can remove burrs and round edges in the same operation, so a smoother-looking part is not, by itself, proof that a critical edge still meets the drawing.
The first question is simple: which edge needs work, and which feature has to stay the way it is?
A timely reminder: the specification comes first
In a September 17 report about GKN Aerospace, Rösler described replacing finishing equipment and media while keeping a prescribed finishing process unchanged. That is a useful distinction for any shop comparing equipment: a new machine does not replace the part's acceptance requirements.
This was Rösler's project, not Richwood's. Its aerospace procedures and reported results are not a recipe or performance promise for another shop. The practical takeaway is narrower: agree on what passes before comparing how you get there.
Separate burr removal, edge shape, and surface finish
These can happen together, but they are not the same requirement. Walther Trowal's application guidance distinguishes deburring from producing a specified edge radius, noting that deliberate edge rounding requires more grinding action. Its surface-smoothing guidance also explains that smoothing can deburr and round edges at the same time.
Use three separate checks when describing the job:
| Requirement | What to define before the trial | What not to substitute for it |
|---|---|---|
| Burr removal | The burr location and the agreed inspection method for deciding whether it is removed | A generally cleaner appearance |
| Edge geometry | Which edges may change; any specified radius, chamfer, or other drawing limit | A surface-finish reading alone |
| Surface finish | The required texture or appearance, the surface to inspect, and the measurement method where specified | A photograph of an attractive part |
A radius is a curved edge transition. A chamfer is an angled flat. If the drawing calls for one, do not assume the other is acceptable. If the note only says “break sharp edges,” resolve the acceptable result with the person responsible for the drawing before treating it as a production target.
Show the feature that must not change
A useful process conversation needs more than “make it smooth.” Mark the burr location on a photo or drawing. Identify nearby fit features and edges whose geometry matters. Include the material and condition, the process that produced the burr, and the finish you want.
An unfinished part and an accepted finished reference make that conversation much more concrete. The reference helps communicate the result; the drawing and agreed checks still determine acceptance.
Walther Trowal describes the deburring challenge as removing the burr without removing too much material elsewhere. That is why the process needs to be matched to the part, rather than selected from a machine name or media photograph.
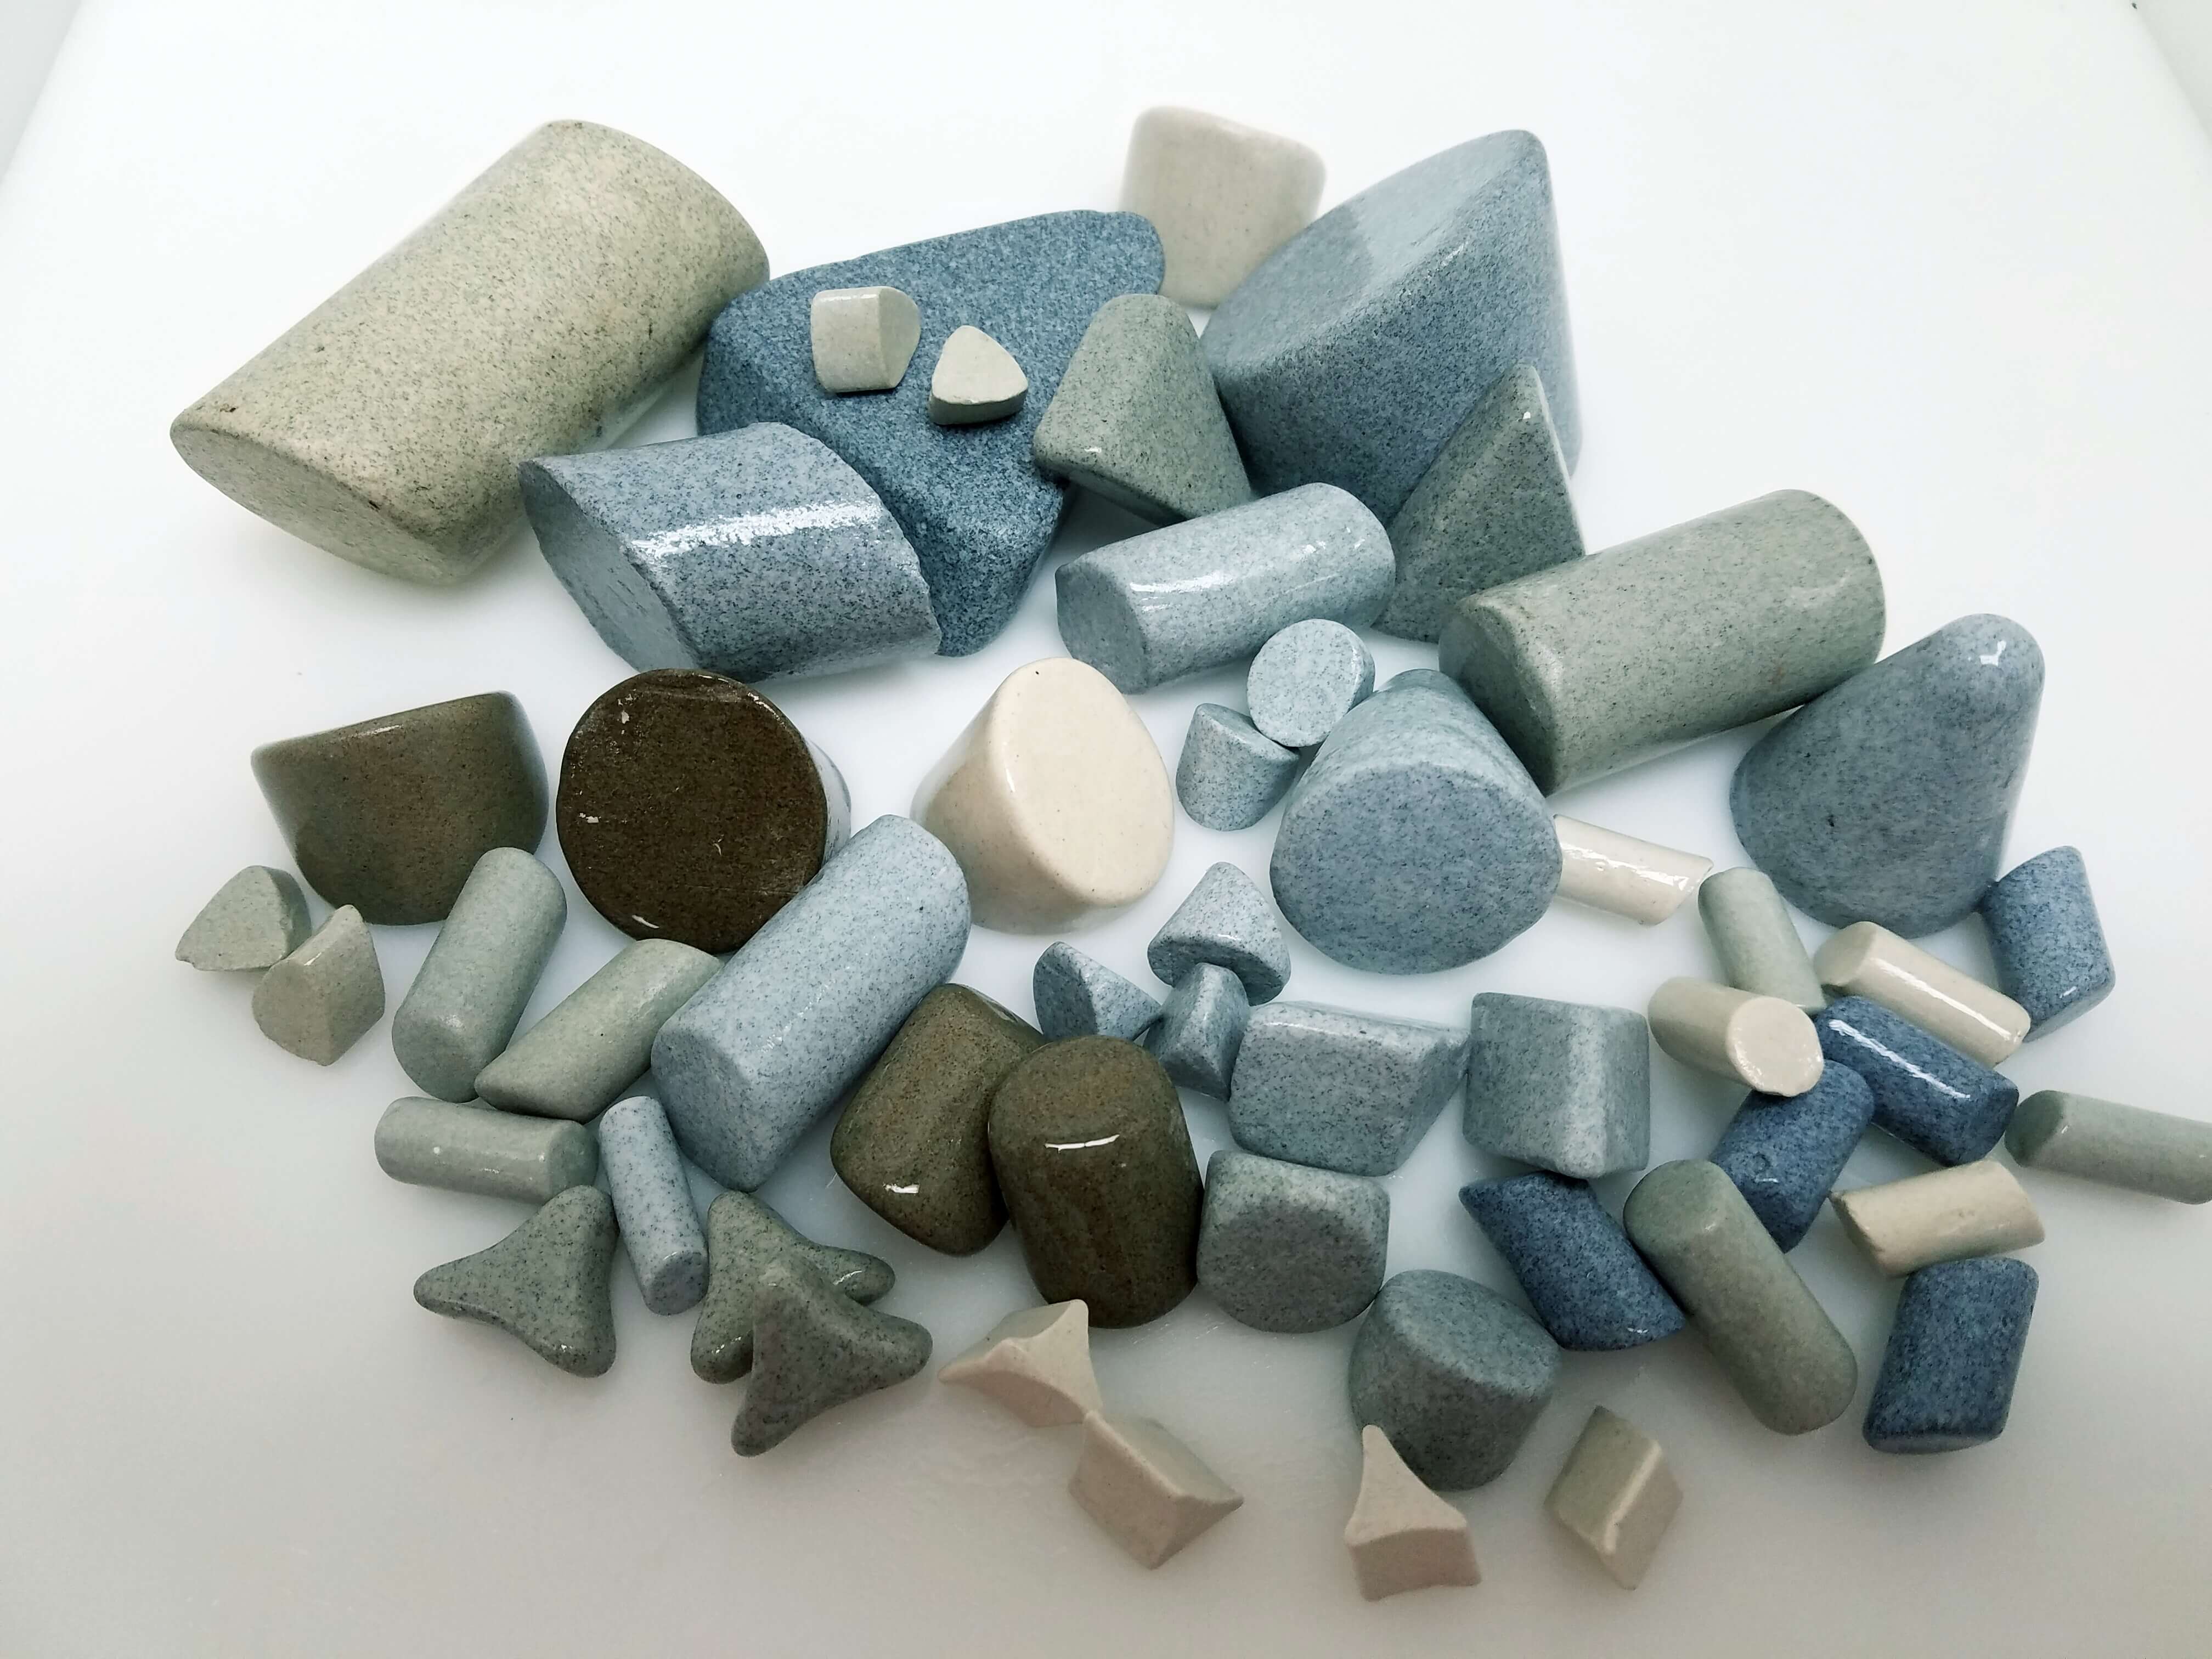
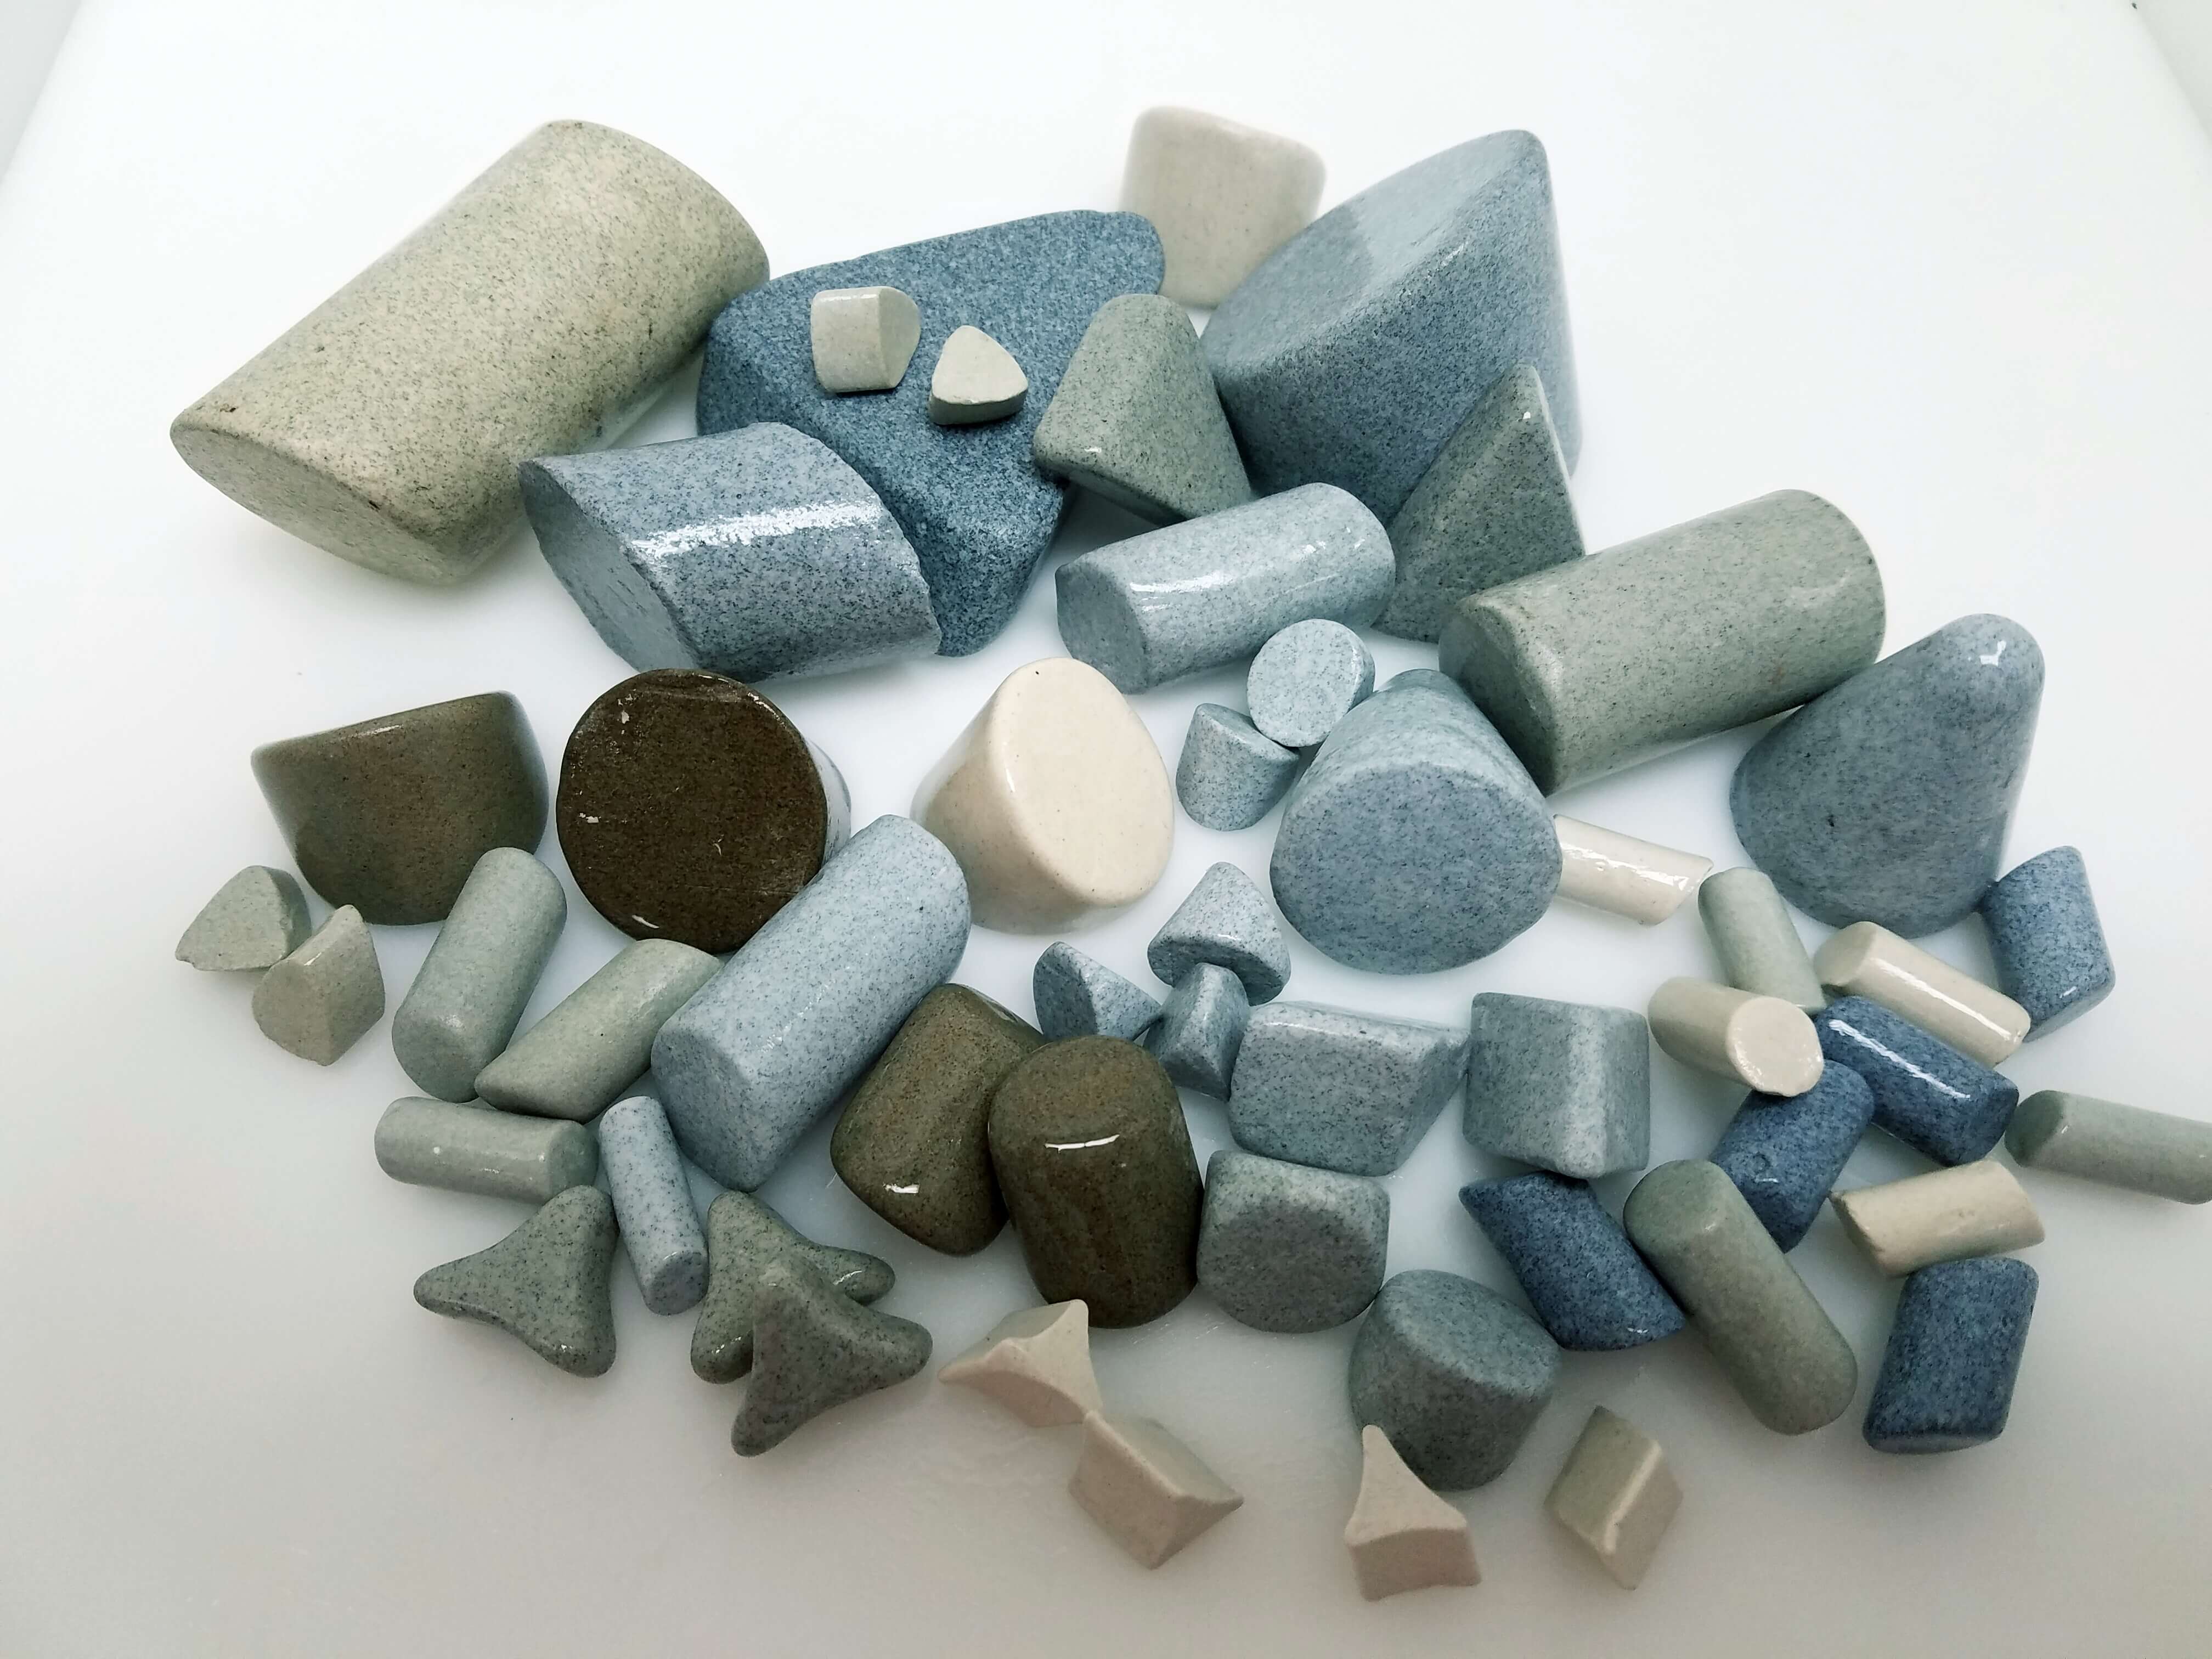
Real supplier photograph of ceramic finishing media, previously approved for Richwood's website. It shows shape and size variety, not a recommended mix, a before-and-after result, or evidence of edge accuracy.
Check the edge before extending the cycle
Treat the following as a trial checklist to agree with your process supplier and quality team, not universal machine settings:
- Record the starting condition. Identify the burr and the critical features before finishing.
- Define pass/fail checks for burr removal, edge geometry, and surface finish separately. Keep the inspection locations consistent.
- Record the machine, media, compound, load, and processing time used for each trial condition.
- Check all three requirements after processing. A trial has not passed if the burr is gone but a critical feature is outside its limit.
- If a burr remains while another edge is already at its limit, stop treating extra time as the default answer. Review the process choice and the original burr with the supplier before continuing.
There is no universal cycle time or media recipe that guarantees burr removal while preserving every edge on every geometry. The relevant question is whether the proposed process can meet the whole acceptance requirement on your part.
What should you send Richwood?
Start with a marked photo or drawing, the material, the burr-producing operation, and the edge and finish requirements. Include an accepted finished reference if one is available. We can use that information to discuss whether centrifugal barrel finishing is a candidate and what needs to be checked in a trial.
For the shipping and sample-preparation details, see what to send for a deburring sample test.
Talk to Richwood about your part. Start with the edge you need to improve and the feature you cannot afford to change.