
The short answer: Start with representative unfinished parts, a finished reference if you have one, and a written description of what must change—and what must not. Confirm the sample quantity and shipping instructions with the supplier before sending anything. A useful trial answers a defined part requirement; a shiny sample alone does not.
If you have already narrowed down a finishing process, the next question is practical: what goes in the sample box? This checklist is for manufacturing engineers, quality teams, and shop owners preparing a mass-finishing trial, where parts are processed together with finishing media.
1. Send the starting condition you actually need to process
Use parts from the production step immediately before finishing. Tell the supplier the material, relevant heat treatment or coating, and how the burr or surface condition was produced. If someone has already hand-deburred a sample, identify it rather than presenting it as an untouched starting part.
Where the incoming condition varies, discuss that variation before choosing the samples. A trial on one unusually clean part will not answer a question about heavier burrs elsewhere in the lot. Keep sample groups identifiable, and agree on how they will be tracked through the test.
Ask first: Which incoming conditions should this trial represent, and how many parts do you need to evaluate them?
2. Show the target, not just the problem
A finished reference helps explain appearance and feel. Send one if it is available, and identify it clearly so it is not mistaken for an unfinished test piece. If the reference differs in material or geometry, explain the difference.
Then put the acceptance requirements in writing. A reference is useful, but it should not replace a drawing requirement or an agreed inspection method.
For example, distinguish these questions:
- Is the task to remove a burr, change an edge, improve a surface, or prepare for another operation?
- Which surfaces or edges will be inspected?
- Which dimensions, threads, sharp features, or cosmetic areas must be preserved?
- Who will judge the returned sample, and how?
If the requirement is surface roughness, state the parameter, units, measurement location, and evaluation method with your quality team. “Make it smoother” leaves too much open to interpretation.
3. Flag the features that could change the process choice
Point out small holes, slots, recesses, thin sections, and areas where contact marks would be unacceptable. These details belong in the trial brief before anyone selects media or a machine setting.
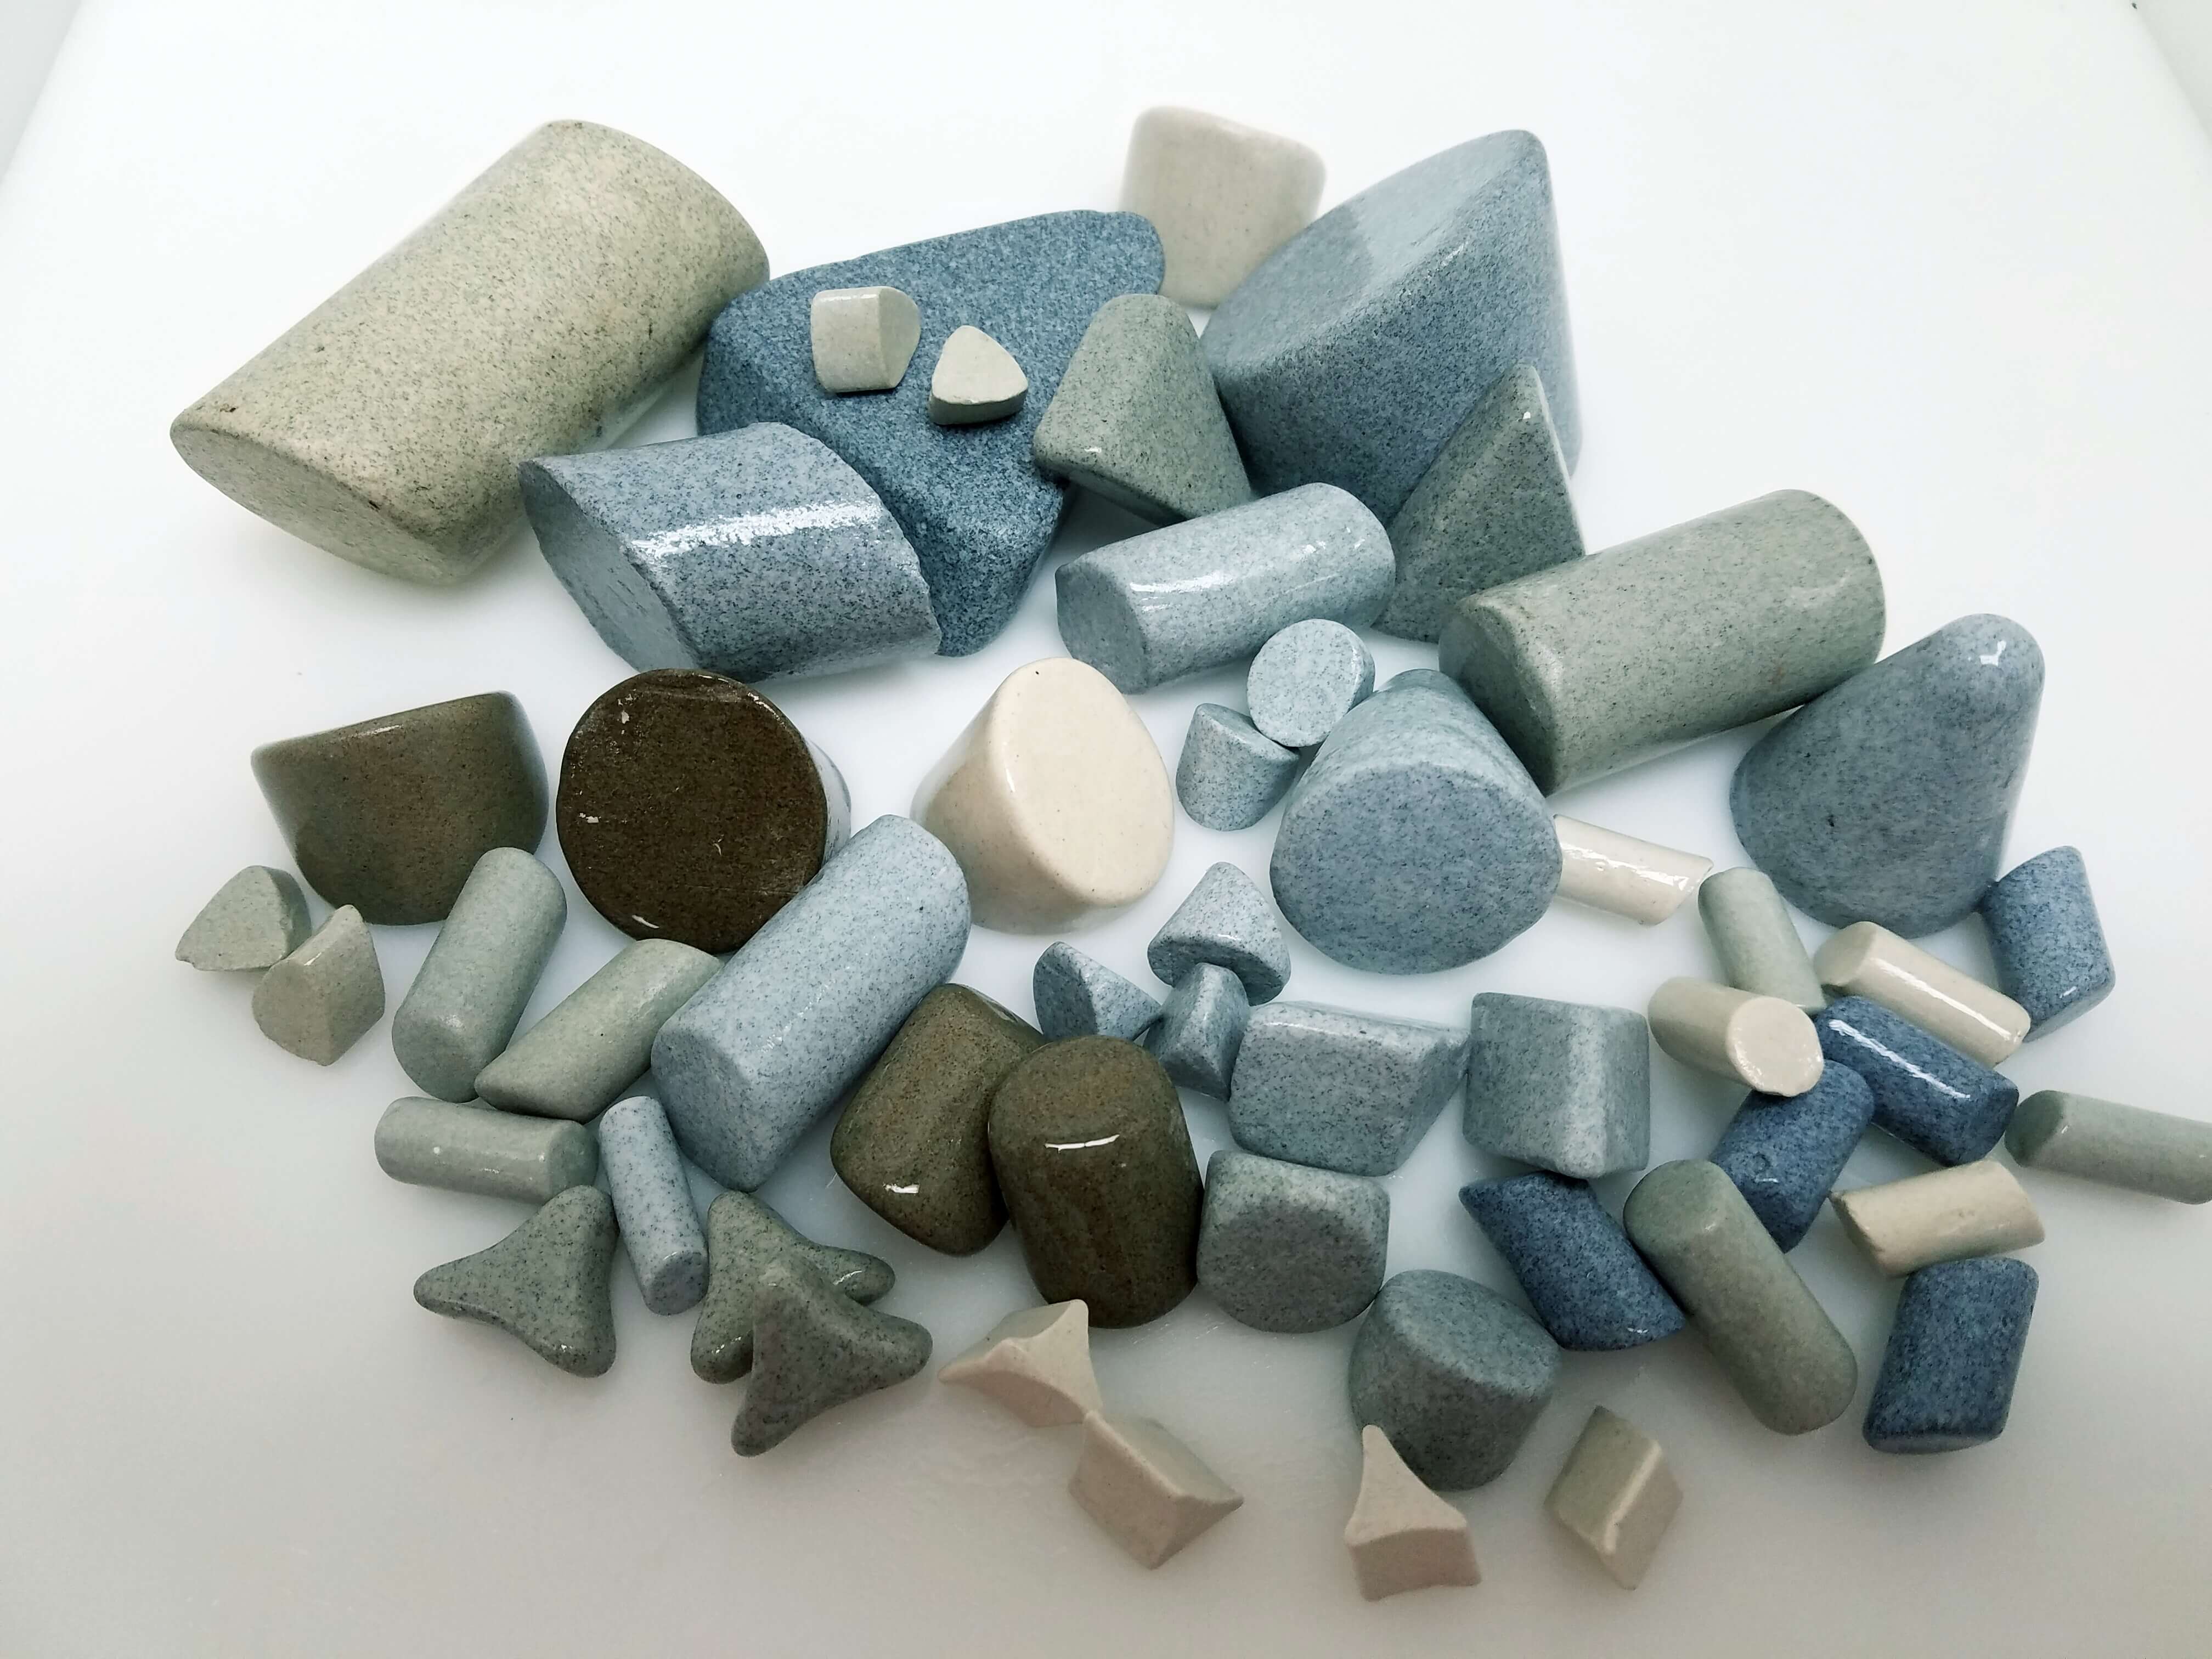
Real supplier photograph of ceramic finishing media, used on Richwood’s media page. These are examples of media shapes, not a recommended recipe or evidence of a sample-test result.
Media choice is part of the process being evaluated, not an item to guess from a photograph. If trapped media is a concern, identify the feature and include it in the return inspection. Our separate media-lodging checklist covers that issue in more detail.
4. Put a short trial brief with the parts
Use this as a preparation sheet, not a universal process specification:
| Item | What to provide |
|---|---|
| Starting part | Material, incoming condition, and the operation immediately before finishing |
| Sample identification | Which pieces are unfinished, which are references, and any distinct sample groups |
| Desired change | Burr locations, edge requirement, surface target, or next operation |
| Must-preserve features | Relevant drawing limits and areas where damage or unwanted change is unacceptable |
| Acceptance check | What will be checked, where, by which method, and by whom |
| Production context | Part dimensions, intended batch quantity, volume, and handling constraints |
| Agreed trial scope | Sample quantity, included work, return arrangements, and any charges |
This approach is consistent with current manufacturer guidance: Rösler describes sample processing as setting the objective, selecting the process, processing samples, documenting the result, and evaluating it with the customer. That is evidence for a trial workflow, not a claim that every supplier includes the same testing or report.
5. Decide what the returned sample will—and will not—prove
When it comes back, compare the result with the agreed starting condition and acceptance checks. Ask for the process notes included in the trial scope: equipment, media and compound identification where applicable, processing time, and any additional handling or finishing steps.
Separate three decisions:
- Did these samples meet the requirement? Check the specified features, not just the overall appearance.
- What remains unresolved? Record failed features, missing measurements, or a starting condition that was not tested.
- What must be confirmed for production? Agree on any further work needed to evaluate repeatability, representative loading, and your inspection requirements.
One successful sample does not by itself qualify every future production lot. Keep the trial result and the production acceptance decision distinct.
How many parts should you send?
Confirm the quantity for your application. Part size, the proposed process, available material, and the questions being tested all affect the plan. Do not assume one piece is enough, or that a quantity used on a different job applies to yours.
Do you need to choose the machine first?
No. Start with the part and the requirement. If you are still comparing equipment, use our deburring-system buying questions first. The trial should help determine whether the proposed process fits, including whether another method deserves consideration.
Start with your part details
Richwood’s sample-test page asks for your material, finish requirement, and batch information. Kevin confirms where to send the parts and what to expect. The published terms say a small fee may apply to involved jobs, credited toward an order; confirm the terms for your trial rather than assuming every test is free.
Before shipping, send the part details and the result you need. If you have a finished reference, mention it. That gives the conversation a useful starting point.