For aluminum parts headed to anodizing, plan burr removal and any required mechanical surface preparation before anodizing. But do not stop at a good-looking bare part: agree on the final appearance, critical dimensions and the anodizer's preparation requirements, then validate representative parts through the complete process. Anodizing should not be expected to hide scratches, machining marks or embedded debris.
Start with two questions: What needs to come off this part? What must the finished part look like?
Those are different jobs. Removing a burr does not necessarily remove a scratch. Making a surface brighter does not prove the edges or dimensions are right. And a mechanical finish that looks acceptable before anodizing can still be wrong for the finished product.
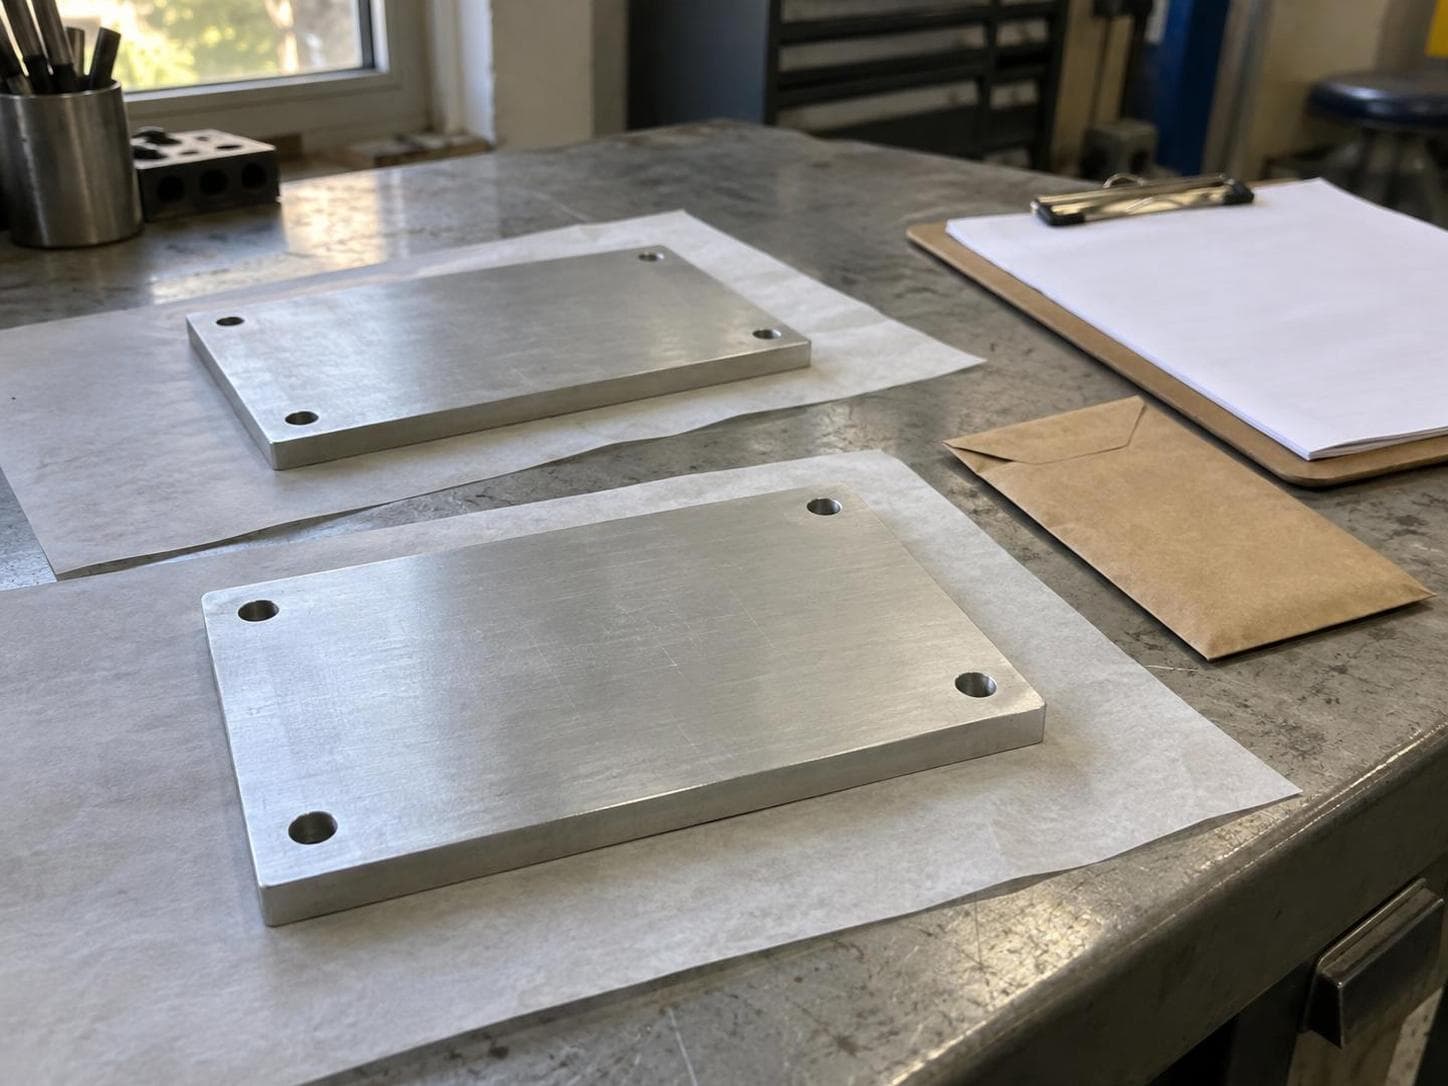
AI-generated conceptual illustration: generic aluminum plates and a preparation checklist on a workshop bench. Not Richwood products, customer parts, a before-and-after comparison or test evidence.
Separate deburring from the appearance requirement
A burr is unwanted material left at an edge by an operation such as machining. Deburring removes that material. Surface preparation addresses the texture or marks on the part's faces. Anodizing forms an oxide layer on aluminum; it is not a substitute for either job.
Mass finishing can be a candidate for burr removal and surface refinement, but the process must fit the actual geometry and result. A uniform tumbled appearance may be acceptable for one part and unsuitable for another. Do not assume every anodized part needs a mirror polish, or that a single media choice will deliver every cosmetic requirement.
Before selecting a process, separate the requirements:
| Requirement | Agree on before the trial |
|---|---|
| Burr removal | Which edges and holes need treatment, and how remaining burrs will be checked |
| Edge condition | Which edges may be rounded and which features must remain within drawing limits |
| Appearance | Visible faces, permitted texture and marks, and an agreed finished reference |
| Dimensions | Features to inspect and whether acceptance applies before anodizing, after it, or both |
| Handoff condition | Cleaning, drying, residue, packaging and handling requirements accepted by the anodizer |
Keep the drawing and the approved specification in charge. A visual reference helps explain appearance; it does not replace dimensional or other inspection requirements.
Ask the anodizer before chasing a brighter finish
Mechanical preparation and the anodizer's chemical pretreatment work together. The alloy and the treatment route also affect the result. Do not spend time polishing a part without confirming whether the planned pretreatment will preserve the appearance you want.
Ask the anodizer:
- What incoming surface condition is appropriate for this alloy and specified finish?
- Will the planned etching or other pretreatment change the texture or reflectivity we are trying to achieve?
- Which residues, handling marks or embedded particles are unacceptable at receipt?
- How should the sample and finished production parts be packaged?
This conversation should happen before a production quantity is finished, not after the anodized batch comes back.
Approve a part that has completed anodizing
For a new or changed finishing route, use representative parts that go through the intended mechanical finishing, separation, cleaning, drying, transport and anodizing steps. Keep the part material and incoming condition representative, too.
Inspect at the handoff to establish what mechanical finishing achieved. Then inspect after anodizing against the agreed requirements. If there is a problem, those two checkpoints help you discuss where it appeared instead of guessing from the final part alone.
A useful trial record identifies the part and alloy, the mechanical-finishing setup, the anodizer's route, the inspection criteria and the resulting observations. Do not approve a process just because the uncoated sample looks shiny under workshop lights.
For the information to gather before a finishing discussion, use our deburring sample-test preparation guide.
Protect the surface between operations
A successful finishing step can be undone by handling. Agree on packaging that prevents parts from rubbing together or against damaging surfaces during transport. Keep adhesive tape off appearance surfaces unless the anodizer has specifically accepted it. Tape residue can be difficult to see and may not be removed by the supplier's normal pretreatment.
Check holes and recesses for trapped swarf or finishing media. Ask what cleaning and drying condition the anodizer requires rather than assuming its tanks will correct every incoming issue.
These are handoff checks, not a universal cleaning recipe. The appropriate method depends on the part and the qualified downstream process.
Can you deburr after anodizing?
Do not treat post-anodize deburring as a routine substitute for preparation. Material removal can disturb the finished surface and coating. If a drawing or manufacturing route requires an operation afterward, agree on that sequence, any necessary rework and final acceptance with engineering and the anodizer before proceeding.
The practical goal is not the brightest bare part. It is a part that meets its requirements after the last operation.
Talk with Richwood about your part. Bring the material, drawing, incoming condition, intended anodized finish and an acceptable finished reference so we can discuss whether mass finishing is a suitable preparation step. Coordinate the anodizing requirements with your anodizer; this is not an offer of anodizing services.