Sometimes—but only where the finishing media can reach the burr, work against it and leave the part without lodging. A smooth outside surface does not prove that an internal intersection is burr-free. Deep passages, cross-drilled intersections and tightly controlled bores need their own process and inspection checks; some require a separate deburring operation.
Start with three questions: Where is the burr? What has to come off? What must stay unchanged?
Find the actual edge that needs work
An entrance edge, the far end of a through-hole and the intersection of two drilled holes are different finishing jobs. A cross-hole burr sits where one drilled passage breaks into another. Looking into the opening may not show the complete intersection.
Mark the burr location on the drawing or a section view. Include the material, hole diameters, passage depth, intersection geometry and the limits on nearby surfaces. Show the actual incoming burr on representative unfinished parts—not just an ideal CAD model.
Do not combine every internal feature under one instruction to “tumble the part.” One part may have accessible edges suitable for mass finishing and a hidden feature that needs a different operation.
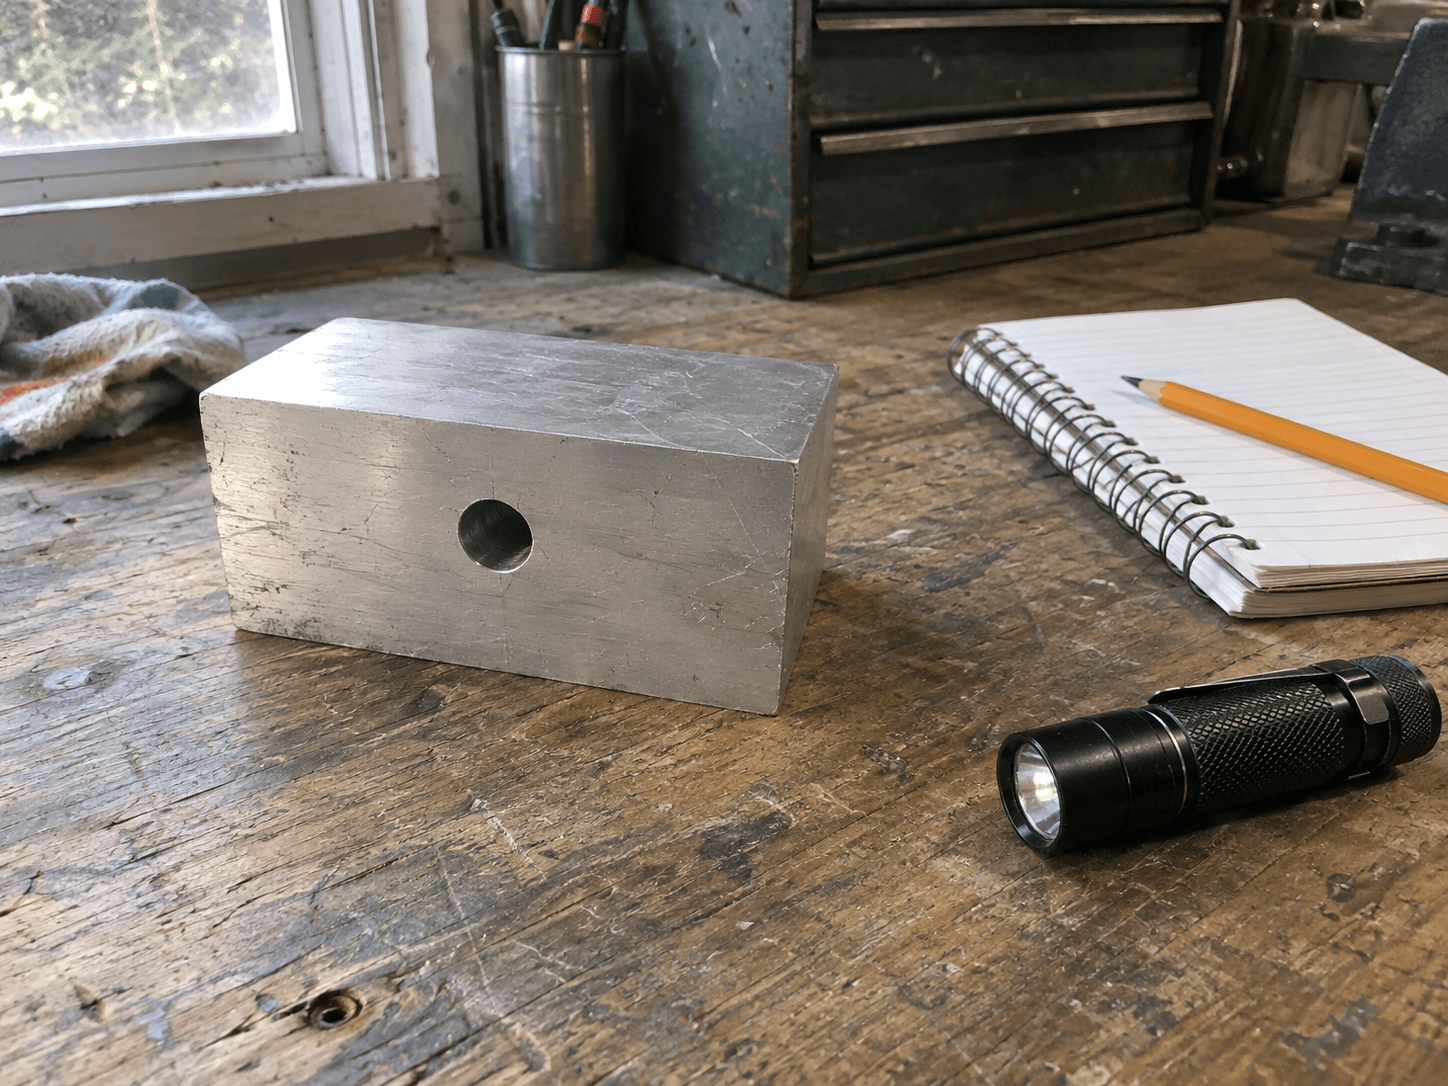
AI-generated conceptual illustration: a generic drilled block and inspection-planning supplies on a workshop bench. Not a Richwood product, facility, customer part or measured test. The illustration does not demonstrate an acceptable internal edge.
Media fitting inside is only the first check
A piece of media entering a hole does not establish that it will remove the burr at the required location. The process needs useful contact at that edge, enough removal to meet the requirement and a reliable way to clear the media afterward.
A useful trial separates these questions:
| Check | What the trial must establish |
|---|---|
| Access | Can the chosen media reach and work on the actual burr, including the intersection rather than just the opening? |
| Removal | Does the remaining burr meet the agreed acceptance requirement? Tough, thick burrs may need an upstream machining change or a different removal method. |
| Feature protection | Do the bore, required edge geometry and nearby functional surfaces remain within their limits? |
| Exit and cleaning | Can media and process residue be removed from every relevant passage? |
| Verification | Can the inspection method show that the hidden feature passed, rather than relying on the outside appearance? |
There is no universal media-to-hole size ratio that answers all five questions. Shape, burr attachment, part geometry and the actual process have to be considered together. Smaller media is not automatically a solution: it also changes the lodging and removal questions.
If the main problem is trapped media, use the separate guide to tumbling media stuck in holes. Here, the first question is whether the hidden burr is being removed at all.
Know when to evaluate a separate operation
Mass finishing is not a substitute for every specified chamfer, nor is a longer cycle proof that an inaccessible edge will become acceptable.
When access or edge control is the limiting factor, discuss targeted tooling with the machining or deburring specialist. Depending on the feature, that discussion might include a back-chamfering tool, a suitable internal brush, or a revised machining sequence. Each has its own access and dimensional constraints. None is a universal replacement for a trial.
If a hole needs a defined chamfer or radius, identify that geometry explicitly. “Burr removed” and “specified edge produced” are separate acceptance questions. Avoid solving one by accidentally changing the other.
A combined route may be appropriate: a targeted operation for the internal feature and mass finishing for suitable accessible surfaces. Agree on the sequence and check the complete part before treating that route as production-ready.
Inspect the inside before accepting the process
Decide how the hidden edge will be evaluated before running the sample. Depending on access and the requirement, the quality team may choose suitable magnification, a borescope, or a sectioned trial part. These are possible inspection approaches, not a blanket requirement or a promise that one view captures every edge.
Confirm that the selected method can actually resolve the feature and the permitted burr condition. A bore diameter measurement by itself does not prove the intersection is burr-free. Likewise, an acceptable visual edge does not replace any separately specified dimensional or cleanliness checks.
Record the incoming condition, the process used and the result at each critical location. Include any manual touch-up, extra cleaning and inspection time in the production assessment. A batch is not finished simply because it has left the machine.
For repeatability, review more than one representative part and agree on the production inspection plan. The sample quantity and acceptance method should reflect the actual part and its requirements—not an arbitrary blog rule.
Bring the hidden feature into the first conversation
Before choosing equipment or media, gather the drawing, burr-location photos, representative unfinished parts and an acceptable finished reference if available. Include production volume and the features that must not change. Confirm sample arrangements before sending anything.
Talk with Richwood about your part and finishing requirement. Start with the internal feature that is hardest to reach, so the process discussion addresses the limitation before a machine or media choice is made.